We’ve been using Alpha Omega’s Horizons Preschool curriculum, and this past several days we have been learning about day 5 of creation, wherein God made the creatures of the sea and the birds. Using water creatures as a theme, we’ve learned quite a bit of science in the process! Here are some of the things we have been doing.
Fish
First and most obvious water creature is fish! We learned about the different types of fish and checked out some books we had on hand with good fish pictures.
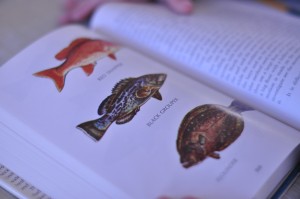
My son fell in love with this book, National Audubon Society Field Guide to Fishes, Whales and Dolphins. He carries it around and loves to look at the pages with sharks and whales. Catfish are a big hit also.
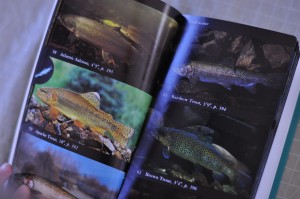
This book, The Sportsman’s Guide to Game Fish, is an old 1968 edition we have in the book shelf. A good one, but not as big a hit as the Audobon book, which he has been poring through for days and days, studying each fish and their characteristics.
On days when the weather is warm, the kids get to go fishing. Great chance to look at fish up close and in person, then discuss what fish need to live, how they breathe, the parts of the fish (gills, fins, mouth, eyes, tail, scales), and release them back into the pond. That is, it would be if they were able to catch one, which is hit or miss. But it’s a great outdoor activity regardless!
My kids got a great kick out of pretending to go on a fishing trip in the great room. We gathered our imaginary bucket, fishing pole, bait, lunchbox, and went to the pond. We declared the floor transition at the foyer to be the pond entrance, and then we declared the adjacent carpet transition to be the ocean. My preschooler practiced casting alternately into the pond for trout and catfish and then into the ocean, where he reportedly caught a whale. It took some visible effort to haul that one in! My 2 year old kept running out into the water and pretending to swim. We finished our fishing excursion with an indoor picnic lunch next to the pond. Yes, we ate lunch on the floor!
We chose this study as a good time to purchase a fish tank for the boys. More on that in a future post on Everyday Science: Fish and What they Need to Live, which could also be titled How Not to Start an Aquarium. In any case, after buying a second round of fish, we were able to make a scientific drawing of the fish in the tank.
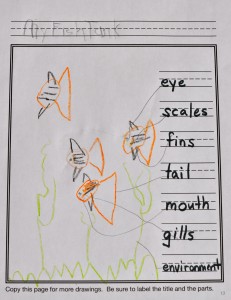
This page is from My First Science Notebook, which is intended for K-3 to teach the skills of science: Drawing, Recording, Measuring, and Observing. Even though we are pre-K, it is still an excellent opportunity to introduce these skills, sort of a science lab for preschool. I use the eBook version of My First Science Notebook, because it allows me to print the pages I need as we go.
Our fish tank drawing identifies the parts of the fish that we learned, and introduces the word “environment” to label his plants and rocks that he drew.
Crustaceans
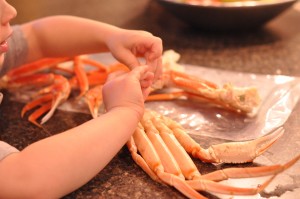
We discussed what crustaceans were, and got a close up look of crab legs. He was not sure at first, but then spent half an hour interacting with the claws and pretending to make the crab walk. Short of being in a place where we could catch some crabs, this is the best we can do!
(The crabs tasted good, too!)
Amphibians
We discussed frogs as well, and described what makes them unique. We practiced hopping around the floor and catching insects with our tongues. We read this one of Aesop’s Fables:
The Ox and the Frog, an Aesop’s Fable
And we learned about the life cycle of a frog with this video from YouTube.
That image at the end was really fast, here it is again:
 |
If you have a pond nearby, you could go locate frogs in the various parts of their life cycle. Otherwise, you can act out the different stages by pretending to be sequentially eggs, tadpoles, then turn into frogs.
Moving on
In other, non-science study with Horizons, we have been practicing the beginnings of phonics, reading a clock, memorizing Scripture, learning basic addition, practicing coloring and cutting and gluing, and doing gross motor skills. All in all its been a pretty good curriculum for us. We skip some parts, and we do school only a few days a week, gearing up for year-round schooling.
I feel like year-round schooling will offer flexibility for us, so we can take days off mid-week when we need to head to the mountains and get some hiking in, or when we’re busy with swim lessons, summer projects, etc. Do you have thoughts on that? I’m curious to hear reasons for schooling year round. I already know my little preschooler does better when he is required to sit down and “do school” on a regular basis, so I know we’d be backtracking if we took a summer completely off.
If you want to read more preschool ideas, be sure to head over to The Preschool Corner linkup this week!

